Installing Libertya ERP on a Digital Ocean Debian VM
2016-01-20
Recently I got a request to install a test server with Libertya ERP on it so new employees can touch, break and learn. The production server was kind of full to host another VM for this purpose, so I decided to use a Digital Ocean dropplet to host the application. First, Libertya is an ERP quite popular here in Argentina because of its integration with our Tax Agency. Its installation is not very straight forward, it depends on Java 6, and thats makes the installation on newer systems very messy.
Let’s start by creating a Debian Dropplet in Digital Ocean.
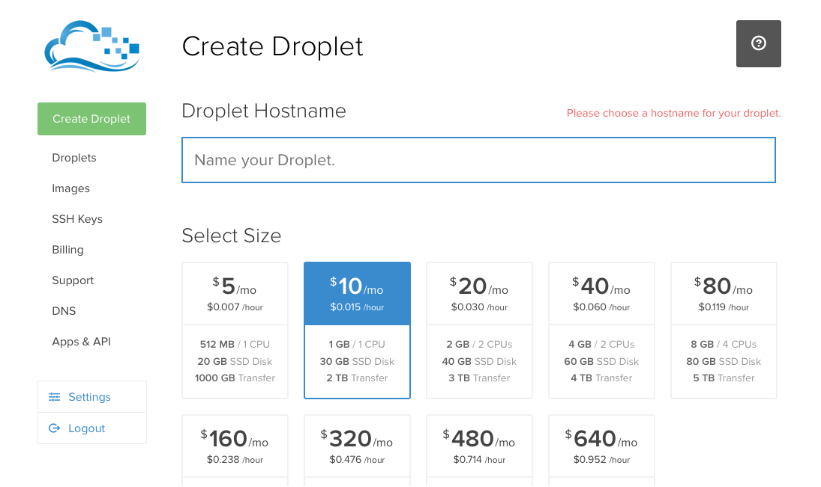
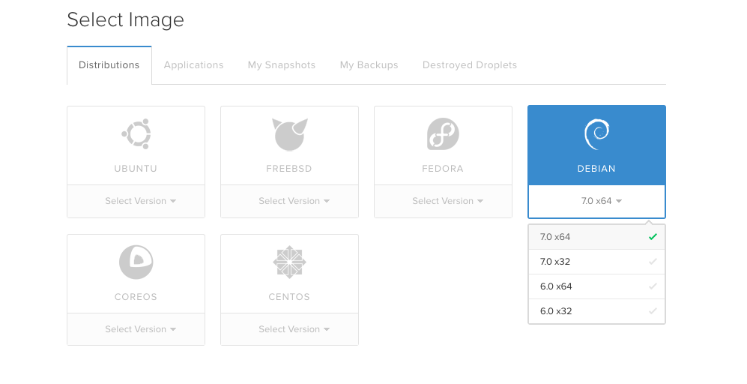
I chose the smallest dropplet, as it was only for test purposes. For this server, I selected a Debian 7.0 x64 image.
Once the dropplet is created, you will get your logging credentials on your email.
After logging sucessfully to the VM, you need to get 4 things:
- Postgresql 8.4.
- JDK 6.
- ServidorOXP (Libertya Server).
- DB Dump.
PostgreSQL 8.4
Debian 7 comes with PostgreSQL 9.4, this version has some issues with Libertya, so we need to manually install version 8.4 of the DB. For that, we go to PostgreSQL Debian Download Website and choose from PostgreSQL Apt Repository Wheezy (7.x). It will give us some lines to add to our APT sources. So we execute the following commands on our VM:
nano /etc/apt/sources.list.d/pgdg.list
And we introduce the following line:
deb http://apt.postgresql.org/pub/repos/apt/ wheezy-pgdg main
We import the repository key, and then do an update.
wget --quiet -O - https://www.postgresql.org/media/keys/ACCC4CF8.asc | sudo apt-key add -
sudo apt-get update
Finally we install postgreSQL.
apt-get install postgresql8.4
Once it is up & running, we need to make some changes to postgresql.conf and pg_hba.conf
nano /etc/postgresql/8.4/main/postgresql.conf
we uncomment “listen_addresses = ‘*’” and save the file. then we edit pg_hba.conf
nano /etc/postgresql/8.4/main/pg_hba.conf
and we make sure that it is set to trust (we are in a test enviroment)
# "local" is for Unix domain socket connections only
local all all trust
# IPv4 local connections:
host all all 127.0.0.1/32 trust
host all all 0/0 trust
# IPv6 local connections:
host all all ::1/128 trust
We reboot the postgreSQL service
service postgresql restart
And it’s done.
Sun JDK 6
Installing Sun JDK 6 is kind of messy, the package was removed from Debian Repositories a long time back, and getting installed from the .bin packages is sometimes not very easy. So we are going to do it with the Debian JavaPackage process. First we need to add a “contrib” component to our source.list:
deb http://http.debian.net/debian/ wheezy main contrib
We make an update and we install the JavaPackage on our VM
apt-get update && apt-get install java-package && exit
Then we download the latest java6 package. I have uploaded it to my cloud because is a pain in the a** to register with Oracle, but you can always download it directly from there if you don’t trust me (and you shouldn’t..).
After we downloaded the .bin file. we create the debian package.
make-jpkg jdk-6u45-linux-x64.bin
It may ask you to not be root in this process, if that is the case, just create a normal user and run the above command without superuser priveleges.
Once the .deb package is created, we just install it as root as if it was a normal debian package.
dpkg -i oracle-j2sdk1.7_1.7.0+update45_amd64.deb
Check that everything went ok:
javac -version
You should get a message stating your javac version is 1.6.
Finally we add some variables to /etc/profile so libertya can know where to find Java and itself.
export JAVA_HOME=/usr/lib/jvm/j2sdk1.6-oracle/
export OXP_HOME=/ServidorOXP
ServidorOXP and DB dump
We need to download both from Libertya’s website. Once we have them, we just unzip them
unzip dump_libertya_1402ar.sql.zip
unzip ServidorOXP_V14.02.zip
mv ServidorOXP /ServidorOXP
cd /ServidorOXP
chmod ÂR +x *.sh
Once this is done, we need to create Libertya’s DB. for that we execute the following SQL as postgres user (psql Â-U postgres):
CREATE ROLE libertya LOGIN ENCRYPTED PASSWORD 'md52b2861c4d594f29f9ce9107c4560f3ae' SUPERUSER CREATEDB CREATEROLE VALID UNTIL 'infinity' IN ROLE postgres; UPDATE pg_authid SET rolcatupdate=true WHERE rolname='libertya';
then we create the language:
createlang Â-U postgres Â-d template1 plpgsql
and finally the DB
CREATE DATABASE libertya WITH ENCODING='UTF8' OWNER=libertya;
once everything is done, we just use the dump to populate the DB.
psql -U libertya -d libertya -f dump_libertya_1402ar.sql
If all went OK. We follow to the Libertya’s configuration. As we are in a remote VM, we do not have an X11 enviroment, so we cannot use the Configurar.sh script in /ServidorOXP. We will need to manually edit LibertyaEnv.properties. For that we copy the template:
cd /ServidorOXP
cp LibertyaEnvTemplate.properties LibertyaEnv.properties
nano LibertyaEnv.properties
inside this file you will find Libertya’s configuration settings. I will edit only the path related settings, as my main goal is to get it running for testing purposes.
DEPLOY_APPS_OXP=/ServidorOXP/jboss/server/openXpertya/deploy
KEYSTORE_OXP=/ServidorOXP/keystore/myKeystore
JAVA_HOME=/usr/lib/jvm/j2sdk1.6-oracle
Once the paths were corrected, we run ConfigurarAuto.sh
./ConfigurarAuto.sh
This will configure libertya’s based on the file we have just edited.
As a last step, we copy the init.d script from libertya so we can manage the service.
cp /ServidorOXP/utils/unix/libertyad_ubuntu-debian.sh /etc/init.d/libertyad
chmod +x /etc/init.d/libertyad
update-rc.d libertyad defaults
service libertyad start
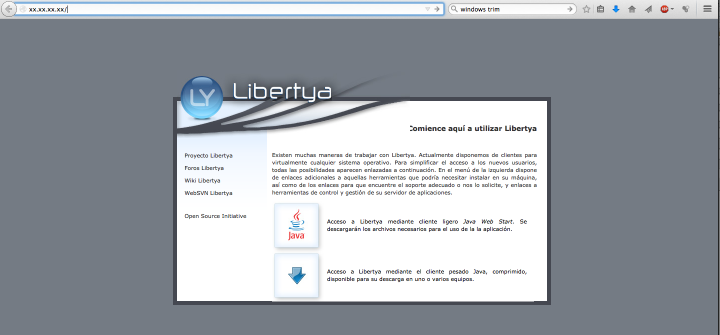
And that’s it! we should have a working libertya’s on our Digital Ocean Debian VM.